It’s just a fact, some recipes call for self-rising flour, and I don’t keep it on hand. But I still want to use those recipes without thinking about it too much! So, here is the answer. Instead of looking it up every single time I want to make a recipe using self-rising flour, I’ll just write it down here and be done with it! Cheers.
As an Amazon Associate I earn from qualifying purchases.
What is Self-Rising Flour?
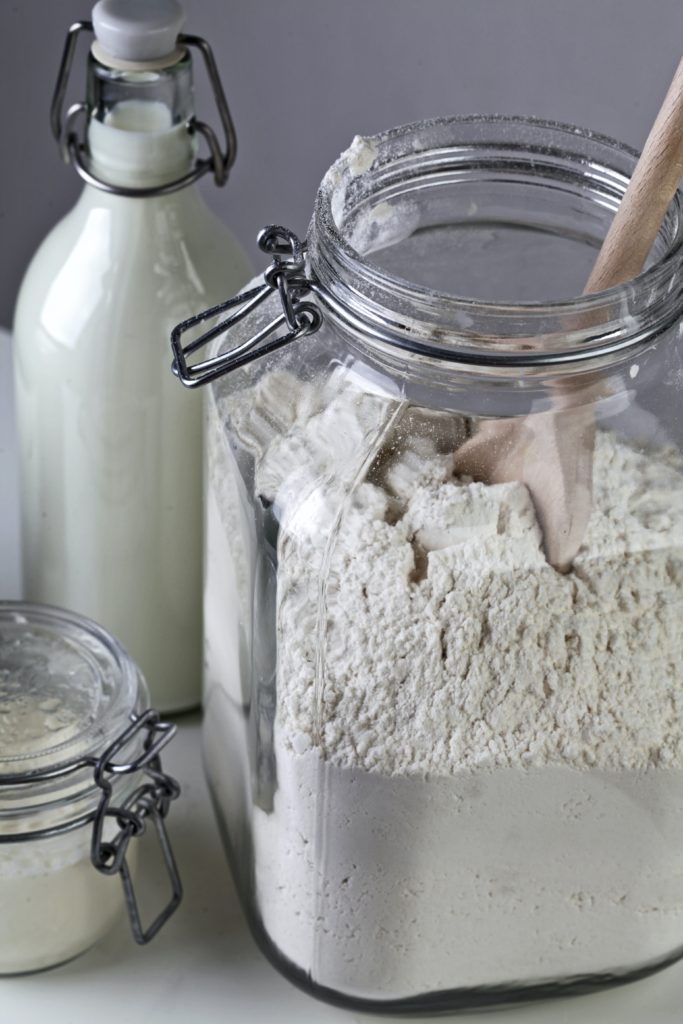
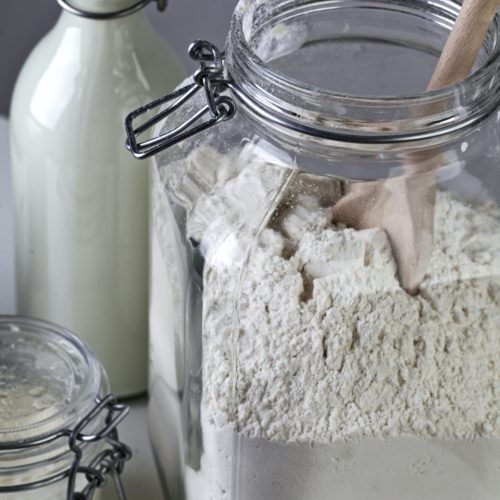
Self-rising flour is all-purpose flour with the rising agents already added. Flour, baking powder, salt, that’s it! The baking powder and salt activate to make the bread good rise as it’s baking, and no other additions are needed. The benefit is that it makes recipes easy to throw together in a pinch. The drawback is that it is just one more type of flour to keep on hand. Now, with this recipe, you can throw it together without thought and be done with it.
Ingredients & Equipment
3 Ingredients for Self-Rising Flour
- All-Purpose Flour: Simple flour, everyone should have it for various recipes. Used for breads, biscuits, cakes, and thickening sauces; all-purpose flour truly has a whole bunch of purposes.
- Baking Powder: A mixture of calcium carbonate and cream of tartar (tartaric acid) create this rising agent and gives it the action to rise when added to water. The
- Salt: Salt is added self-rising flour to fill two roles. First, it reacts with the baking powder is a small way to activate the leavening agent. Second, it adds flavor and masks the taste of the flour.
Equipment
- Mixing Bowl: A bowl to mix the flour in, big enough to hold whatever sized batch you are mixing up.
- Whisk: The ultimate way to mix dry ingredients and flour. The whisk effectively separates and stirs, gives a dual action which is very effective at dispersing the baking powder evenly.
- Measuring Cups: Standard kitchen tools, everyone should have 1-2 sets of these. I suggest stainless steel with stamped or etched markings, that way they wont rub off.
- Measuring Spoons: Same as with the measuring cups, everyone should have at least 2 sets of these. Why two sets? So you arent constantly washing them between measurements.
- Storage Container: If you are making more than a single batch of self-rising flour, store it in a sealed container. This will prolong the shelf-life of the baking powder, which will slowly become less effective over time.
Preparation of Self-Rising Flour
Combine the Ingredients to Make Self-Rising Flour
There is only one step to making self-rising flour, well maybe two. First, measure out how much self-rising flour is needed for your recipe, starting with the flour. Measure it into a mixing bowl first, and not in with wet ingredients until everything is combined. Add the baking powder and the salt on top of the all-purpose flour, and whisk to combine. Then you can use it as directed to complete your recipe!
Self-Rising Flour DIY
Equipment
- Mixing Bowl
- measuring cups
- measuring spoons
- Whisk
- Storage Container
Ingredients
- 1 Cup All-Purpose Flour
- 1½ Tsp Baking Powder
- ¼ Tsp Salt
Instructions
- Combine the flour (1C), baking powder (1½t), and salt (¼t). Whisk to mix thoroughly.
- Use as directed in whatever recipe is calling for it.
- Store any leftover self-rising flour in an airtight container away from direct sunlight. Self-rising flour has a shelf-life of 12 months.
Nutrition
Support DFTF!
If you like this recipe and what we’re doing here, these are a few ways to support our food adventures:
- Make the recipe and rate it in the comments section. Tell us what you thought about it and show us that someone out there is reading these!
- Purchases made through our affiliate links pay us a small commission at no charge to you. Show your support by shopping through our links.
- Share it on Facebook, IG, or Pinterest and tag #dadfeedsthefam to tell us how it went. Every mention is a tiny billboard for what we’re doing here!
Leave a Reply